Ingredients for Mary Berry All in One Apple Cake
- 225g (1¾ cups) self-raising flour
- 175g (¾ cup + 2 tbsp) caster sugar
- 175g (¾ cup) soft butter or baking margarine
- 3 large eggs
- 2 medium cooking or eating apples (about 300g / 10.5 oz peeled weight)
- 1 tsp baking powder
- 1 tsp ground cinnamon (optional, but highly recommended)
- ½ tsp vanilla extract (optional)
- A small handful of demerara sugar for sprinkling on top
Best Apples for Baking
Equipment You’ll Need
- A large mixing bowl
- Electric hand mixer or stand mixer (a wooden spoon works in a pinch, just add some elbow grease)
- Measuring scales and measuring spoons
- A sharp knife and a vegetable peeler
- An 8-inch (20cm) round cake tin, at least 3 inches deep
- Baking parchment
- A wire cooling rack
Step-by-Step Instructions (All-in-One Method)
how to make mary berry all in one apple cake recipes, these are all methos stsep by step explained.
Step 1 – Preheat the Oven
Step 2 – Cake Tin Prep
Step 3 – Apple Prep
You want them small enough to distribute evenly throughout the batter, but not so small that they completely disappear during baking. Set them aside while you make the sponge.
Step 4 – Combine Everything
Scrape down the sides of the bowl halfway through to make sure nothing is hiding. The batter should appear pale, creamy, and lump-free.
Step 5 – Incorporating the Apples
Step 6 – Baking the Cake
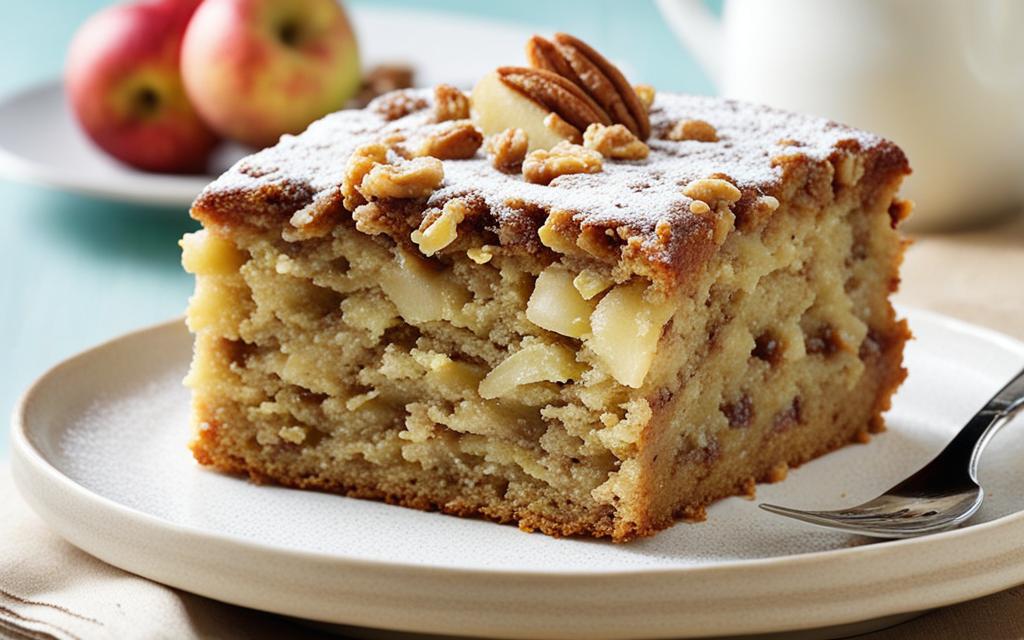
Scatter a little demerara sugar over the surface for a lovely golden crunch. Bake on the middle shelf for 40 to 50 minutes. The cake is ready when it’s golden brown on top, and a skewer inserted into the centre comes out clean. If the top is browning a little too fast, loosely lay a piece of foil over it for the last 10 minutes.
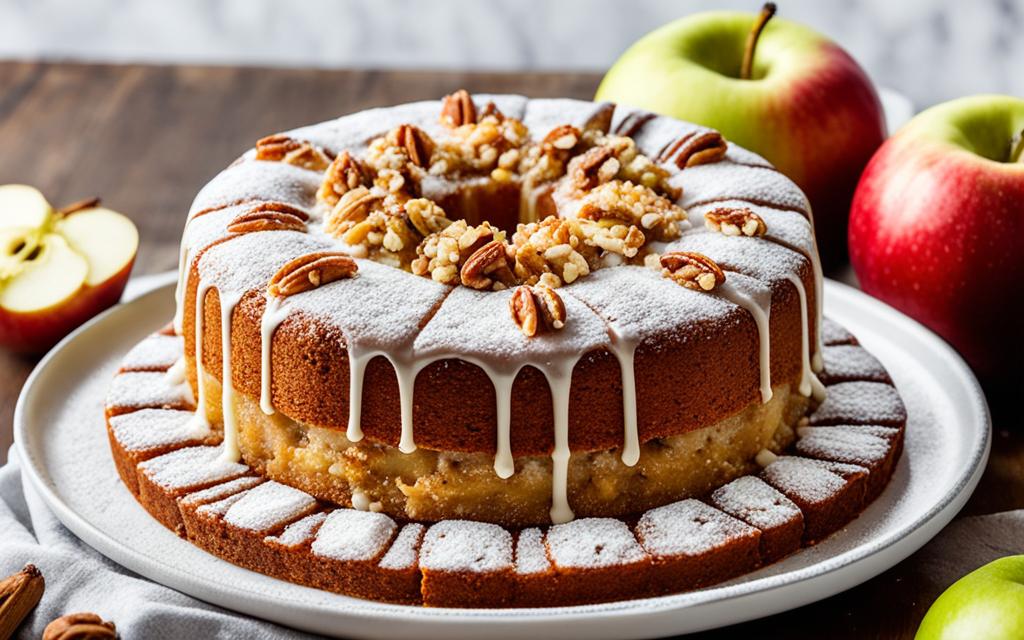
Step 7 – Cool and Serve
Tips for the Easy Apple Cake Recipe
- Use room-temperature butter and eggs. Cold butter doesn’t mix smoothly, and cold eggs can cause the batter to split. Take them out of the fridge at least 30 minutes before you start.
- Don’t overmix. Two minutes with an electric mixer is enough. Overworking the batter develops too much gluten, leading to a tough, dense sponge — not what you want here.
- Go slightly tart with your apples. Sweet apples can make the whole cake feel cloying. A bit of sharpness from the fruit is exactly what cuts through the buttery sponge.
- Add spices freely. Cinnamon is the obvious choice, but a pinch of nutmeg or mixed spice works just as well. Don’t be shy.
- Check the cake a few minutes early. Every oven is slightly different. Start checking at the 38-minute mark to avoid overbaking.
Simple Variations You Can Try
- Apple & Cinnamon Cake – Double the cinnamon and add a pinch of mixed spice. Classic, warming, and incredibly easy to eat.
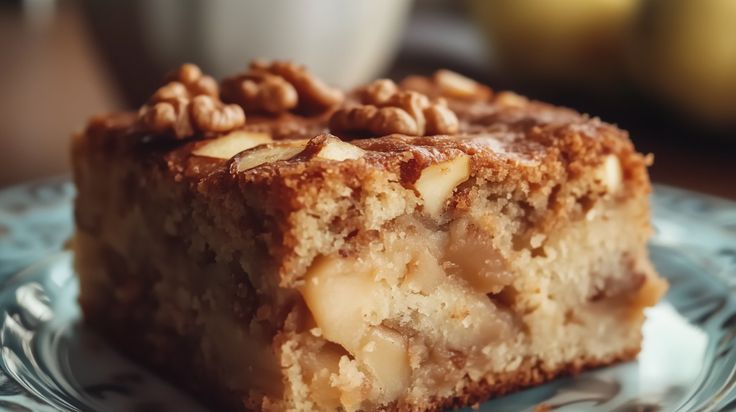
- Apple & Walnut Cake – Fold in a handful of roughly chopped walnuts alongside the apple. The crunch adds great texture.
- Vegan Apple Cake – Swap butter for dairy-free spread and eggs for flax eggs (1 tbsp ground flaxseed + 3 tbsp water per egg). It works surprisingly well.
- Gluten-Free Apple Cake – Replace the self-raising flour with a good-quality gluten-free self-raising blend. Add half a teaspoon of xanthan gum if it isn’t already in the mix.
- Caramel Apple Cake – Drizzle a homemade or shop-bought salted caramel sauce over the cooled cake. It takes all of 30 seconds and transforms the whole thing.
Serving Suggestions
- Warm from the oven with a generous pour of vanilla custard — pure comfort.
- Alongside a cup of strong tea or a flat white — the classic British afternoon treat.
- With a scoop of vanilla ice cream for something a little more indulgent.
- Topped with a dollop of lightly whipped cream and a sprinkle of cinnamon for a dinner-party-worthy dessert.
Common Mistakes to Avoid
- Overmixing the batter. It’s the most common reason for a heavy, rubbery sponge. Mix just until smooth and stop there.
- Using too many apples. More isn’t always more. Too much fruit can weigh down the batter and prevent it from rising properly. Stick to the suggested amount.
- Not preheating the oven. Putting the cake into a cold or under-temperature oven throws off the baking chemistry entirely.
- Opening the oven door too early. Resist the urge to check before 35 minutes. Opening the door in the first half of baking causes the centre to sink.
- Using the wrong tin size. A tin that’s too small will overflow; one that’s too large will give you a flat, overcooked result. An 8-inch round or a 2lb loaf tin are both reliable options.

FAQs
Can I use plain flour instead of self-raising flour?
What apples are best for apple cake?
How should I store apple cake?
Can I freeze apple cake?
Why is my cake dense or dry?
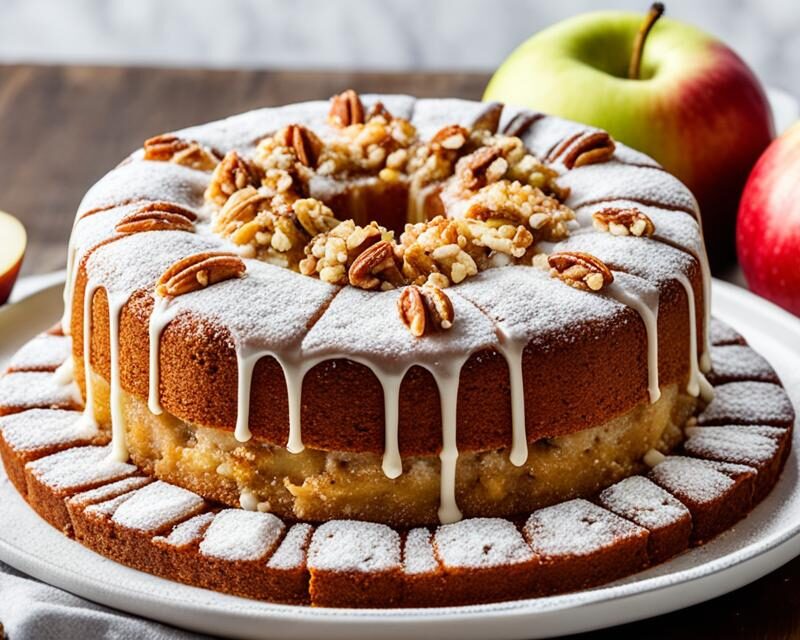
Mary Berry All in One Apple Cake Recipe
Course: CakeCuisine: BritishDifficulty: Easy4
servings30
minutes40
minutes300
kcalIngredients
Self-raising flour
Sugar
Butter
Eggs
Baking powder
Milk
Apples (sliced)
Directions
- Mix all ingredients (except apples) into a smooth batter.
- Fold in sliced apples.
- Pour into a greased tin.
- Bake at 180°C for 40–45 minutes.
- Cool and serve.
Notes
- Use slightly tart apples for better flavor.
- Don’t overmix the batter.
- Check doneness with a skewer.
- Tastes best slightly warm.
- Optional: add a pinch of cinnamon for extra taste.
Storage & Shelf Life
Once cooled completely, store the cake in an airtight tin or container at room temperature. It’ll stay moist and delicious for 2 to 3 days — though in most households it doesn’t last that long.
If you’d like to keep it longer, wrap the whole cake or individual slices tightly in cling film and refrigerate for up to 5 days. Take it out about 30 minutes before you want to eat it so it comes back to room temperature.
For longer storage, this cake freezes really well. Slice it first, wrap each piece individually, and freeze for up to 3 months. This is handy if you want to bake in bulk and pull out a slice whenever the craving hits.
Conclusion
Mary Berry’s all-in-one apple cake is one of those recipes that genuinely deserves a permanent place in your baking rotation. It’s quick to put together, forgiving to make, and produces a beautifully moist, flavourful cake that feels a little bit special without asking too much of you. Whether you’re a complete beginner who’s never baked a cake in your life, or someone who just wants a reliable recipe they can rely on time after time, this is it.
Go on — preheat that oven, grab your apples, and give it a go. You might just surprise yourself.